Unlock the Goodness: Your Comprehensive Guide on How to Juice Carrots at Home
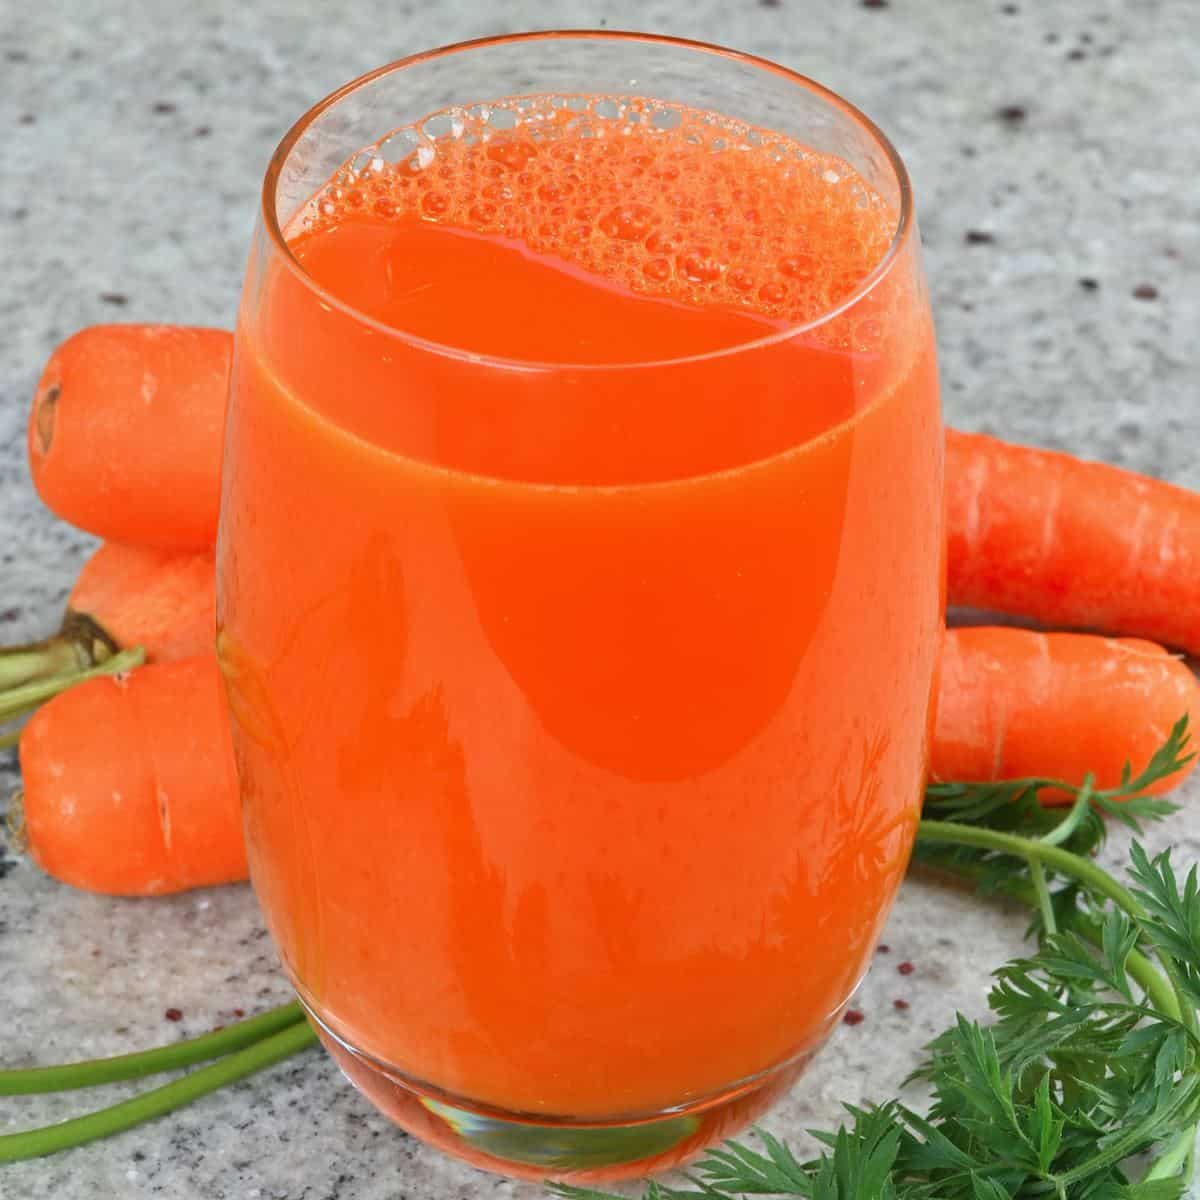
Carrot juice, a vibrant elixir packed with vitamins and minerals, has become a staple for many seeking a natural health boost. With its naturally sweet flavor and myriad benefits, learning how to juice carrots at home allows you to enjoy a fresh, pure, and nutrient-dense beverage anytime. Forget store-bought versions often laden with added sugars; making your own gives you complete control over ingredients and freshness. This comprehensive guide will walk you through two popular methods – using a dedicated juicer or a common kitchen blender – ensuring you can whip up delicious, homemade carrot juice regardless of your equipment.Why Make Homemade Carrot Juice? The Benefits of Freshness
Before diving into the "how," let's explore the compelling reasons "why" you should consider integrating homemade carrot juice into your diet. Beyond the satisfying process of creating something fresh from scratch, the nutritional advantages are significant. Carrots are rich in beta-carotene, a powerful antioxidant that the body converts into Vitamin A, essential for vision, immune function, and skin health. They also provide good amounts of Vitamin K1, potassium, and antioxidants. When you juice carrots yourself, you ensure maximum nutrient retention because the juice is consumed immediately, preventing nutrient degradation that can occur over time in pre-packaged options. You also control the purity, avoiding preservatives, artificial flavors, and excessive sugars. This makes homemade carrot juice an excellent choice for those focused on clean eating, stable blood sugar levels, and sustained energy. For a deeper dive into the specific health advantages, explore our article on Carrot Juice Benefits: Boost Energy with Low-Sugar Recipes.Method 1: Juicing Carrots with a Dedicated Juicer
For many, a juicer is the go-to appliance for extracting pure, pulp-free juice with minimal effort. This method is incredibly efficient and typically yields a higher quantity of juice.What You'll Need:
- Fresh carrots (organic recommended for unpeeled juicing)
- A dedicated juicer (centrifugal or masticating)
- A stiff brush for scrubbing
Step-by-Step Guide:
- Clean Your Carrots Thoroughly: Start by scrubbing your carrots meticulously under cold running water. A stiff vegetable brush works wonders here, removing any dirt or debris.
- To Peel or Not to Peel? If you're using organic carrots, you can absolutely leave the peel on – it contains valuable nutrients and fiber. If your carrots are not organic, or if you prefer a brighter, sweeter juice with a slightly smoother texture, peeling is recommended. Some find peeled carrot juice to be aesthetically more pleasing and taste subtly sweeter.
- Chop for Your Chute: Once clean, chop your carrots into pieces that comfortably fit your juicer's feed chute. For most standard juicers, 1-2 inch segments are sufficient. This prevents jamming and ensures smooth operation.
- Begin Juicing: Turn on your juicer and systematically feed the carrot pieces through the chute, using the tamper if necessary. The juicer will separate the juice from the fibrous pulp.
- Collect and Serve: Position a glass or container to catch the freshly extracted carrot juice. Serve immediately for optimal nutrient content and the freshest taste.
Pros of Using a Juicer:
- High Yield: Extracts more juice from the same amount of produce.
- Pulp-Free: Produces a smooth, clean juice texture instantly.
- Efficiency: Generally faster for large batches of juice.
Cons of Using a Juicer:
- Cost: Dedicated juicers can be a significant investment.
- Cleaning: Can be tedious, with multiple parts to wash.
- Nutrient Loss (Centrifugal): High-speed centrifugal juicers can generate heat, potentially oxidizing some heat-sensitive nutrients, though for most home users, the benefit outweighs this minor consideration. Masticating (slow) juicers minimize this.
Method 2: Making Carrot Juice in a Blender
Don't have a juicer? No problem! You can still enjoy homemade carrot juice using a high-speed blender, a common kitchen appliance. The process involves blending and then straining to achieve a juice-like consistency.What You'll Need:
- Fresh carrots
- A high-speed blender
- 1/4 to 1/2 cup of water (or a small amount of complementary fruit juice like orange or apple)
- A fine-mesh sieve, cheesecloth, or nut milk bag
- A bowl or container to catch the strained juice
- A stiff brush for scrubbing
Step-by-Step Guide:
- Clean and Peel: As with the juicer method, thoroughly scrub your carrots. For blender juice, peeling is generally more recommended, even for organic carrots, as it helps achieve a smoother puree and easier straining due to less fibrous material.
- Chop into Small Pieces: This is crucial for your blender. Chop the carrots into small 1-2 inch pieces. Smaller pieces will blend more easily and create a finer puree, essential for efficient straining.
- Add to Blender with Liquid: Transfer the chopped carrots to your high-speed blender. Add 1/4 to 1/2 cup of water. The water is vital here; it provides the liquid necessary for the blender blades to catch and break down the tough carrot pieces, preventing the blender from seizing. You can also use a small amount of apple or orange juice for added flavor, keeping in mind the sugar content.
- Blend Until Smooth: Secure the lid and blend on high speed until the mixture is completely pureed into a thick, smooth, and uniform consistency, almost like a very thick smoothie. This might take a few minutes, depending on your blender's power.
- Strain the Juice: This is where the magic happens for "juice." Place a fine-mesh sieve over a large bowl or container. Pour the blended carrot puree into the sieve.
- Sieve Method: Use the back of a spoon or a spatula to press the pulp firmly against the sieve, extracting as much liquid as possible. Stir and press repeatedly until only dry pulp remains.
- Nut Milk Bag/Cheesecloth Method: For even better results and less effort, line a bowl with a nut milk bag or several layers of cheesecloth. Pour the puree into the bag/cloth, gather the edges, and firmly squeeze the liquid out. This method often yields a clearer, more pulp-free juice.
- Serve Immediately: Enjoy your fresh, homemade carrot juice!
Pros of Using a Blender:
- Accessibility: Most kitchens already have a blender, making it a cost-effective option.
- Retention of Fiber (if not strained fully): If you prefer a thicker, more fibrous drink, you can strain less or not at all, retaining more dietary fiber.
- Versatility: A blender can also make smoothies and other recipes.
Cons of Using a Blender:
- Texture: Requires an extra step of straining to achieve a juice-like consistency.
- Yield: Generally yields less juice than a juicer, as some liquid remains in the pulp, even after thorough straining.
- Cleaning: Straining devices (sieve, nut milk bag) require thorough cleaning.
Maximizing Your Carrot Juice Experience: Tips, Add-ins & Zero Waste
No matter which method you choose, a few extra tips can enhance your homemade carrot juice journey.Optimal Consumption and Storage:
Fresh carrot juice is best consumed immediately after preparation to benefit from the highest concentration of nutrients. However, if you have leftovers, store the juice in an airtight container in the refrigerator for up to two days. While you can freeze carrot juice, be aware that it tends to separate upon thawing. When this happens, it's typically best used for culinary purposes, such as in dressings, soups, or stocks, rather than as a standalone drink.
Flavorful Add-Ins and Combinations:
While pure carrot juice is delicious on its own, experimenting with other ingredients can elevate its flavor profile and boost nutrient diversity. Start with a base of 80% carrots and add 20% of a complementary fruit or vegetable to maintain a low-sugar profile. Great additions include:
- Fruits: A small piece of apple, orange, pineapple, or a squeeze of lemon/lime for brightness.
- Vegetables: Celery, cucumber, or a small piece of ginger for an invigorating kick.
- Herbs & Spices: Fresh mint, parsley, or basil can add an aromatic twist. A pinch of cinnamon or cayenne pepper can also introduce warmth and a metabolism boost.
Embrace Zero Waste: Don't Discard the Pulp or Tops!
One of the best aspects of making homemade juice is the opportunity for zero waste. Don't throw away that leftover fibrous pulp! It's a treasure trove of fiber and nutrients that can be repurposed in countless ways. Add it to smoothies for extra bulk, bake it into carrot cakes, muffins, or crackers, mix it into broths for added body and flavor, or incorporate it into breakfast dishes like oatmeal or pancakes. The pulp is also freezable, allowing you to save it for future culinary creations. For an extensive collection of ideas, read our article on Beyond Basic Carrot Juice: Zero Waste Tips & Pulp Recipes.
If your carrots came with green tops, don't discard those either! Carrot tops can be used to make a flavorful pesto, adding a unique peppery, slightly bitter note to your meals.
A Word of Caution: Moderation is Key
Carrots are incredibly healthy, but like all good things, moderation is important. Due to their high concentration of carotenoids, excessive daily consumption of carrot juice can temporarily affect your skin pigment, potentially giving it an orange tint. While harmless, it's a good reminder that a balanced diet with varied fruits and vegetables is always best. Enjoy your carrot juice as part of a diverse and nutrient-rich eating plan.
